meet our adopted hive
how we found them
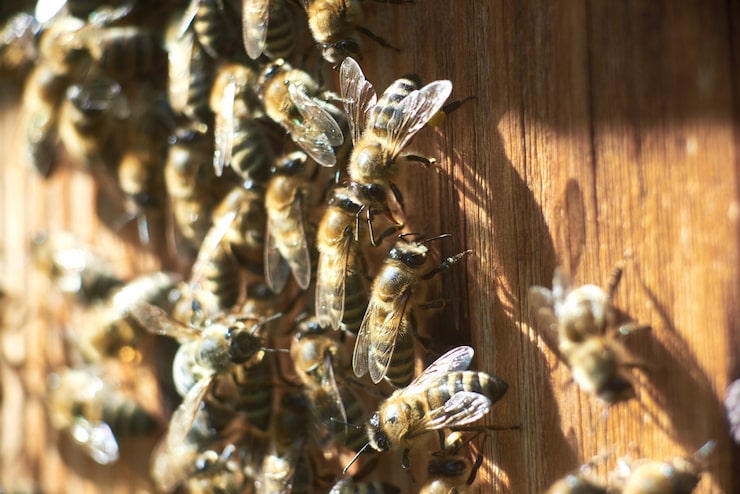
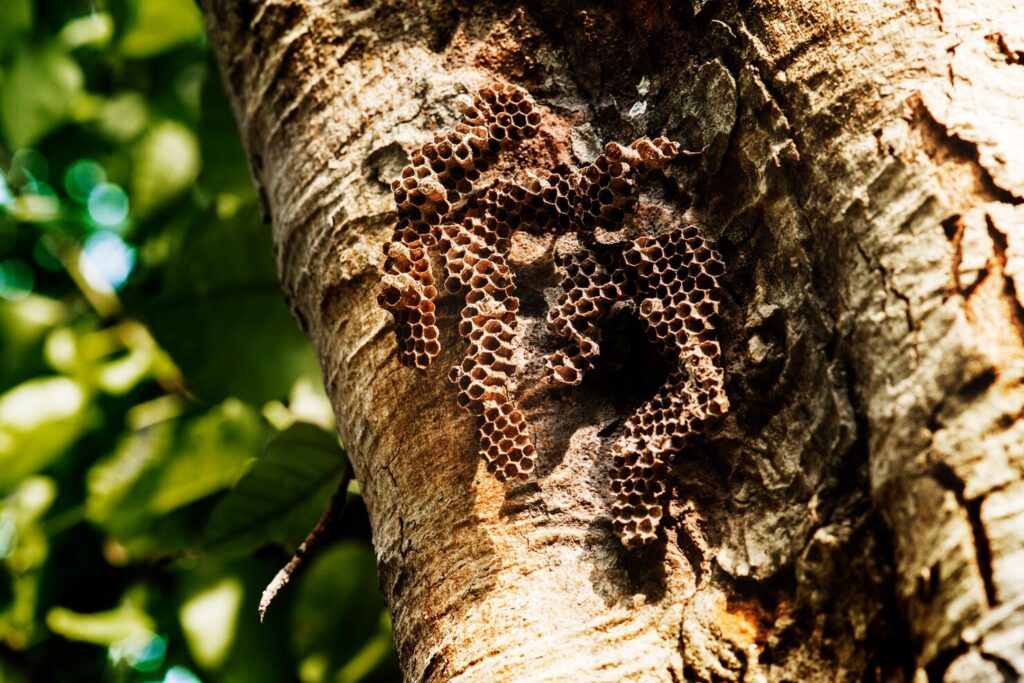
We came across the hive on an early spring walk, tucked inside a hollow tree that looked like it had been their home for years. But the moment we got close, we knew something wasn’t right. A healthy wild hive has a certain energy. The steady stream of workers coming and going, the faint hum from inside, the occasional guard bee checking you out. This hive had none of that.
Only a handful of bees were moving in and out, and those that did seemed slow and tired. The entrance had debris buildup, which usually means the colony doesn’t have enough strength to keep it clean. Wild hives can decline for lots of reasons: harsh winters, parasites, poor forage, or even stress from nearby agriculture. Whatever the cause, this colony was clearly struggling to keep itself going.
why we stepped in
Normally, it’s best to let nature do its thing. But in this case, leaving the hive meant almost certain collapse. Spring was just beginning, and a weak hive at that time of year rarely recovers on its own.
We contacted a local beekeeper to assess the situation, and they confirmed what we suspected: the colony needed intervention if it had any chance of survival. With permission from the landowner, we decided to relocate them before predators, weather, or disease finished the job.
the relocation
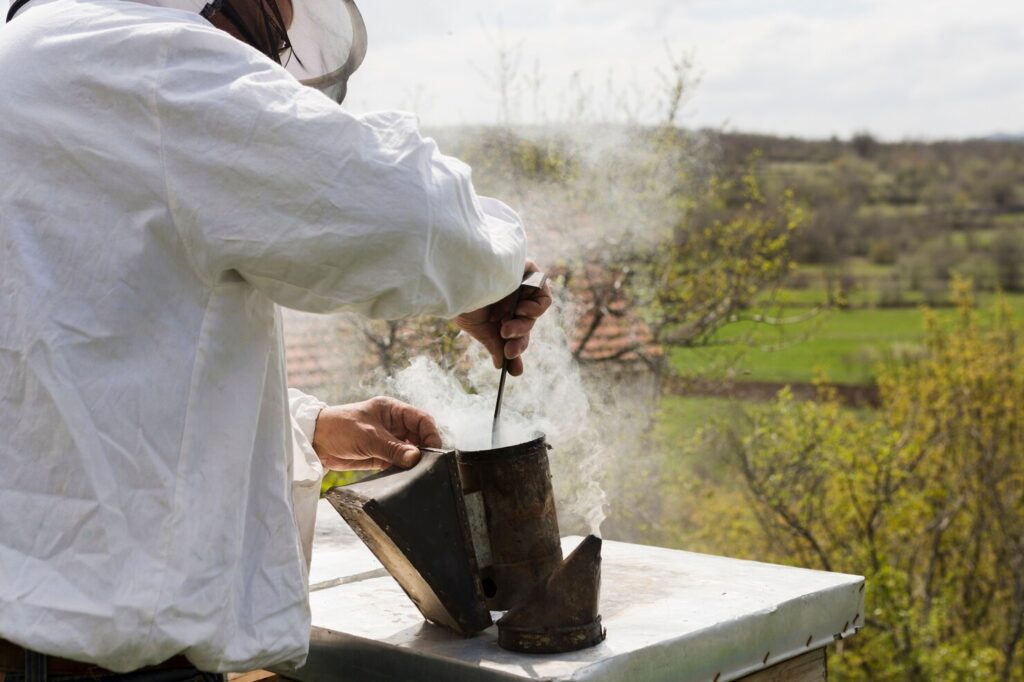
Moving a wild hive isn’t simple. Everything has to be done carefully. This means slow movements, minimal disruption, and lots of smoke to keep the bees calm.
We transferred the colony into a new hive box, giving them proper frames, ventilation, and insulation. This alone increases their odds dramatically, since wild cavities can be cramped, damp, or unstable.
Once they were secured, we transported them to a meadow where we knew they’d have everything they needed: clover, wild mint, berry blossoms, and a mix of pesticide-free wildflowers. Good forage is the foundation of any healthy colony, and this location had it in abundance.

meet queen marmalade
Every comeback story needs a main character, and in this hive, it was the queen. She was young, small but steady, and once settled in the new box, she started showing real potential.
We named her Queen Marmalade because her brood pattern was warm, golden, and consistent, a sign of a queen who’s determined to rebuild. Within a couple of weeks, the hive began to look and sound different. More workers, more activity at the entrance, more confidence in their movements. It was the first sign that the relocation had worked.
their recovery
By early summer, the hive had nearly doubled in strength. Workers were collecting pollen in shades of yellow, cream, and bright orange, a good indicator of diverse forage and a healthy environment. They built fresh comb, expanded their brood nest, and started storing enough resources for both the queen and the future generations.
What once felt like a fading wild hive was now functioning like a proper colony again.
their honey profile
Although we don’t harvest from rescued or recovering hives (they need every drop of honey for themselves), we still get to observe what type of honey they make based on the nectar around them.
Queen Marmalade’s colony produces a light golden wildflower honey with:
• soft floral tones from clover
• a clean, summery sweetness
• subtle minty notes from wild mint and meadow herbs
• a bit of berry blossom brightness
It’s the kind of honey that tastes like early summer; delicate, balanced, and full of local character. Some of our flavour drop ideas actually came from watching what plants the bees prioritized.
why this hive matters
Rescuing this colony does more than help one hive. Each healthy bee colony increases pollination in surrounding areas, supports local biodiversity, and strengthens the long-term stability of pollinator populations.
For us, this hive represents the heart of what we want Beebuzd to be about: sustaining the ecosystems that make mead possible and giving back to the species that make the whole process even exist.
Queen Marmalade and her workers are now thriving, and we’ll keep sharing updates as they grow, from seasonal behaviour to foraging patterns to whatever surprises they throw at us next.